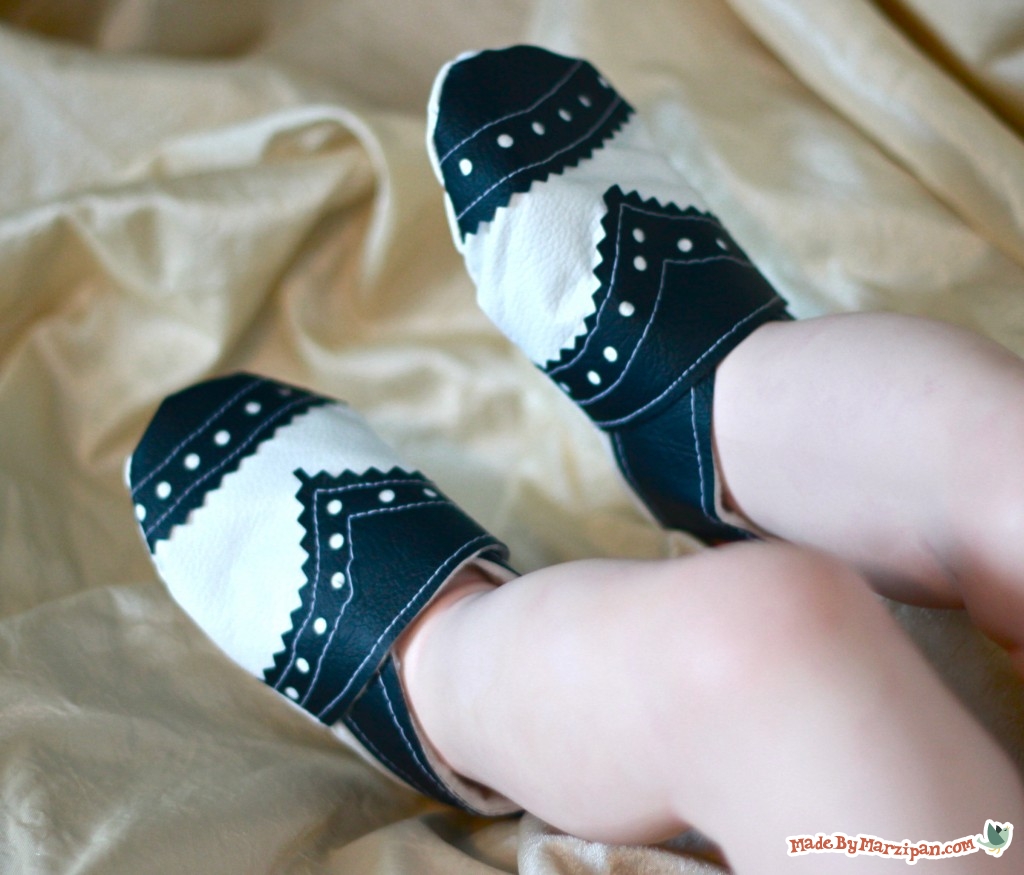
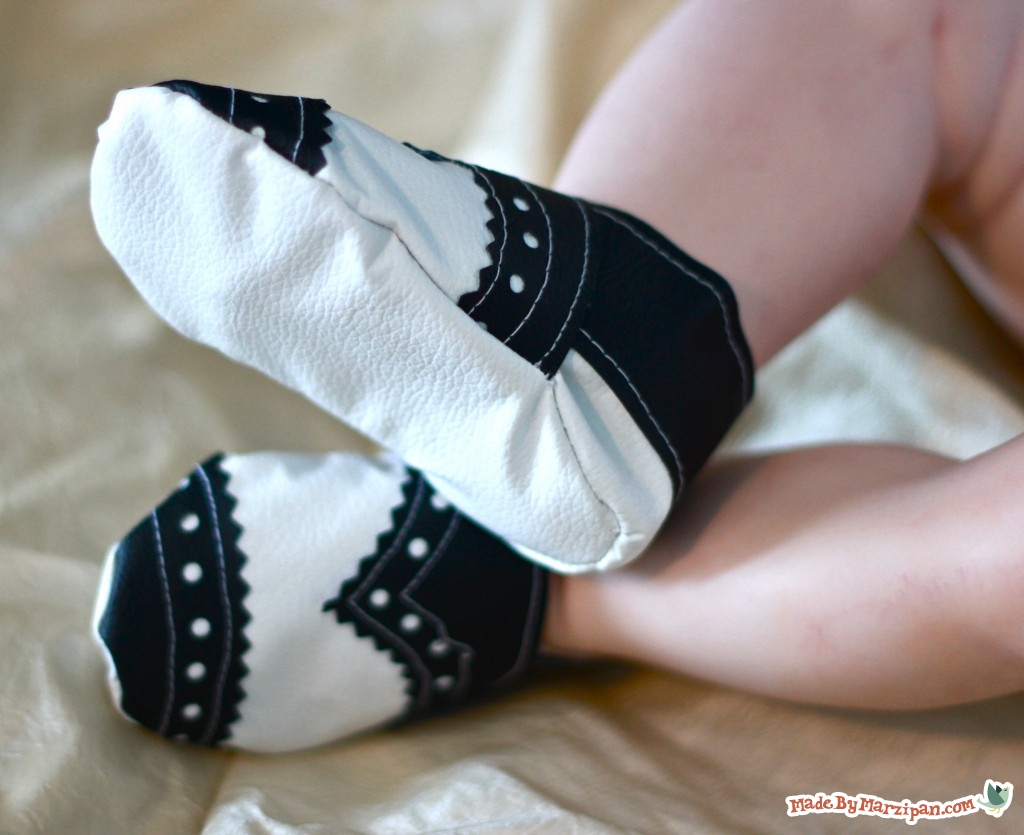
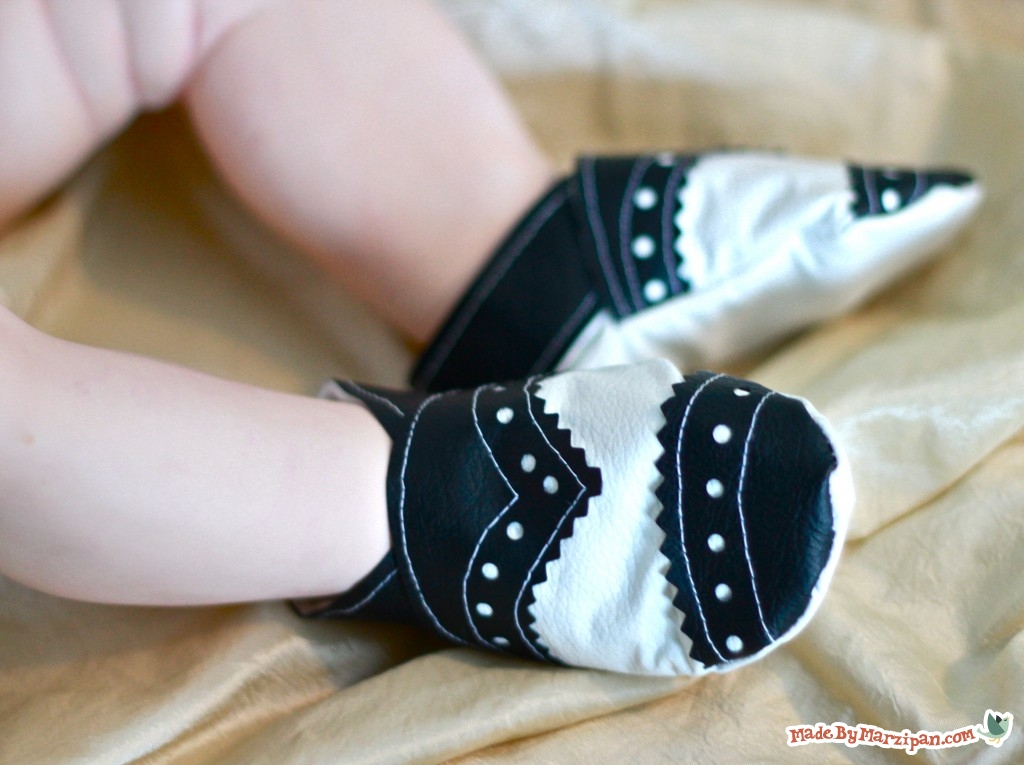
Baby Tuxedo Shoes are perfect for church, photo shoots, or any special occasion. This pattern is a free bonus when you purchase the Baby Sneaks pattern from my Etsy shop!
Tips:
Shoe Sizes:
1
For the best fit, measure baby’s foot:
- Small: 4-inch sole
- Medium: 4.5-inch sole
- Large: 5-inch sole
2
It’s important that you use a no-fray material, such as leather or vinyl. If you choose leather, make sure you use a heavy-duty leather needle in your sewing machine.
3
When selecting vinyl, make sure you choose flannel-backed vinyl for the main shoe portion. These shoes are unlined, which makes for easy sewing, but you want the inside of the shoe to be comfortable even if baby isn’t wearing socks. You can select regular vinyl for the contrast color.
4
It’s best to use 100% polyester thread when sewing with vinyl.
How to:
made with
1
Begin by printing the pattern pieces. (Be sure you’ve selected “no scaling” on your print settings.) Cut out the pieces.
2
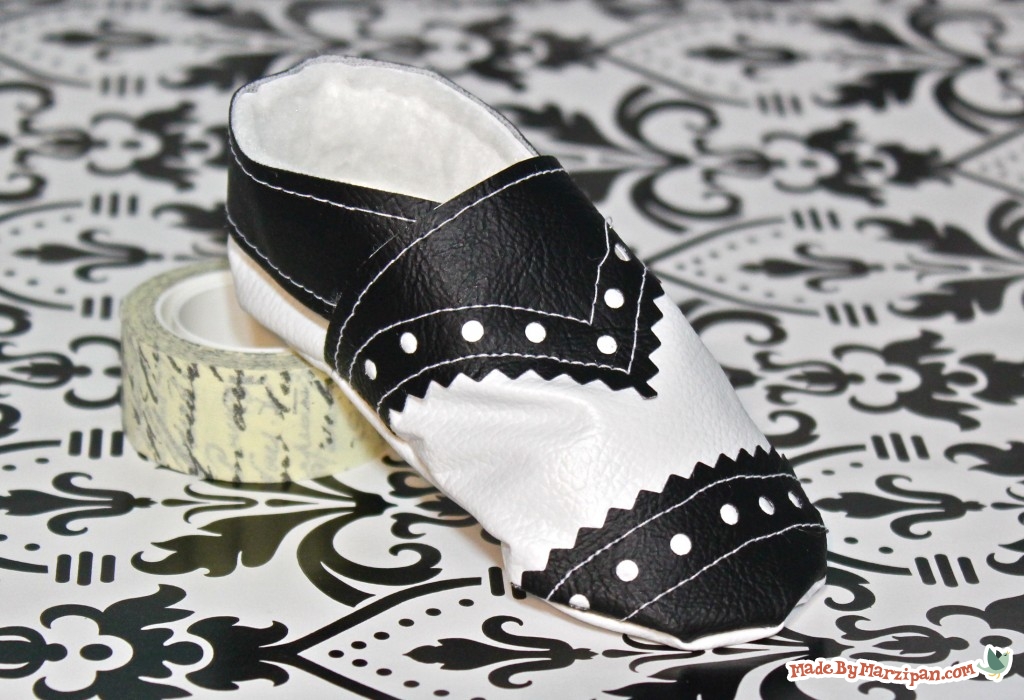
Now use the pattern to cut the pieces from your material according to the instructions. Note the zig-zag edges on the pattern. Those are the areas you should cut with pinking shears. You will use the Sole, Toe, Heel, Contrast Band, Tuxedo Upper, and Tuxedo Lower for the Tuxedo Shoes. It’s best to avoid pinning when working with leather and vinyl, as the pinholes will show. The pieces are small enough that you can hold them in place while cutting.
3
Cut the two vertical snips in the toe piece as shown on the pattern. You’ll be threading the elastic through these later.
4
Now we’ll add the holes on the upper and lower toe pieces. You need a small 1/8 inch hole punch for this, a standard 1/4 inch one is too large. I bought this in the scrapbooking section of my craft store for $6. Lay the paper pattern piece on top of the material, and punch through the dots as shown on the pattern.
5
Set your sewing machine to a longer stitch length– I recommend using a scrap of the material you’re using to play around with stitch length and tension until you’re happy with it.
6
Next lay the upper piece on top of the toe, lining up the top edge. Sew in place across the top with a 1/8 inch seam. As you sew this piece, be aware of your slits on the toe piece… you don’t want to sew those shut.
7
Now sew right above the zig-zagged edge with a 1/8 inch seam.
8
Finally, topstitch directly above the line of punched holes.
9
Now we’ll add the bottom piece to the toe. Again, sew 1/8 inch from the zig-zagged edge, then add another row of stitches directly below the holes.
The following steps are the same as for the Baby Sneaks…
10
Set the toe piece aside, and we’ll make the heel piece. Lay the contrast band on top of the heel piece, across the narrowest part. Sew the band along the top edge with a 1/8 inch seam, and along the band’s bottom edge with a 1/8 inch seam. This will create a casing for the elastic. Trim the ends of the contrast band to follow the curve of the heel piece.
11
Now that all of our pieces are assembled, we can form the shoe. Lay a sole down, vinyl-side up. Lay the toe piece down on top of the sole, face down. (Vinyl should be against vinyl.) Line up the middle of the toe piece with the top center of the sole.
12
Begin sewing in the center. Use a 1/4 inch seam. Once you have the center tacked down with a few stitches, manipulate the right side of the toe piece to line up with the edge of the sole. If you have the option to keep your needle down while sewing, it’s helpful to do that while lifting the foot occasionally to turn the fabric. The trick to making a perfectly formed shoe is to follow the curve of the sole. Sew until you reach the end of the toe piece.
13
Now we need to sew the left side in place. To do this, line up the left edge with the curve of the sole. Start sewing from the bottom of the toe piece, and work your way around to the center of the toe where your previous stitches began.
14
Next comes the heel. The contrast band should be at top. We’re going to sew this on the same way we did the toe. Match up the middle of the heel piece with the bottom center of the sole piece. Sew a few stitches in the center, then manipulate the fabric so that it lines up with the curve of the sole. Sew until you reach the end of the band. (The band will overlap the toe piece.)
15
Now we’ll sew the other side, beginning at the front and working our way back to the center of the heel. You can flatten the toe piece out of the way if necessary. Line up the edge of the heel with the curve of the sole.
16
Cut 10 inches of elastic. (This is more than we actually need, but having a little extra makes it easier to manipulate.) Use a safety pin or bodkin to thread the elastic through the two slits on the inside of the toe piece, then through the contrast band casing.
17
Remove the safety pin, and pull the two ends of the elastic to tighten. Pull it tight enough so that the casing begins to pucker a bit.
18
Switch to a zig-zag stitch on your machine. Pinch the elastic together, and sew close together close to the shoe. Then trim off the excess elastic. Rotate the elastic a bit, tucking the sewn part into the heel casing.
19
Turn the shoe right side out, gently poking out the seams from the inside. It’s helpful to roll the seams between your fingers to make them crisper.
20
Have you tried sewing the other version of this shoe yet? Click here for the Baby Sneaks tutorial!
Looking for more sweet shoes? Click to see my sewing tutorial for Baby SnUgg Boots!
Made By Marzipan may have received product or payment for this post. Posts may contain affiliate links. Disclosed in accordance with the Federal Trade Commission's 16 CFR, Part 255.

 Finished?
Show it off!
