I love this clear phone case I got from Amazon… it allows me to customize and switch out inserts as often as I’d like. Here are a few more ideas for the collection…
How to:
1
I purchased this clear case for my iPhone from Amazon.com, for around $3. Today I’m going to make a few different inserts to change the look of my phone. Begin by tracing the case to make a template for your inserts. Cut out the template. I recommend using an X-acto knife for the camera hole.
2
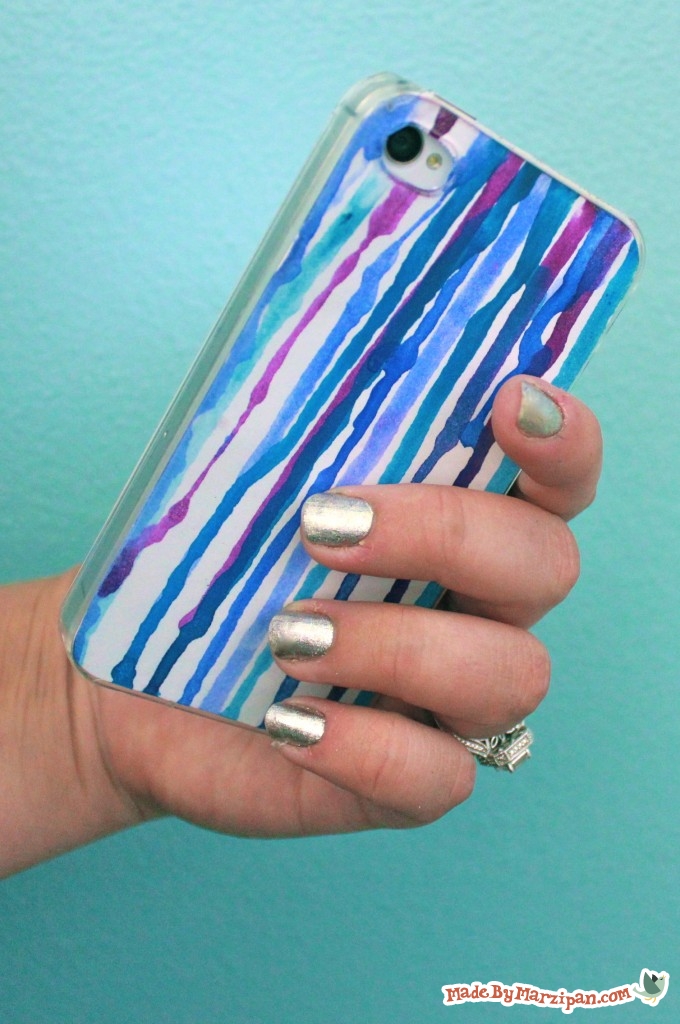
For this first insert, I’m using Sakura Koi® Water Colors. The water brush that’s included in the kit is perfect for this project.
3
Begin by squeezing the brush to deposit water on the paint cake. Make sure you’re holding your template the right way, you don’t want to accidentally paint the back instead of the front.
4
Then, wipe the tip of the brush against the top edge of the paper to deposit a drop of paint. Let the paint drip down the surface of the paper. It’s a good idea to do this over a paper towel to prevent messes.
5
If the paint stops midway, you can get it moving again by adding a bead of water. Just hold the brush to the paint droplet and squeeze gently to release a drop of water. I recommend sticking with paints in the same color family… if you use contrasting colors, the paints turn muddy brown when they blend.
6
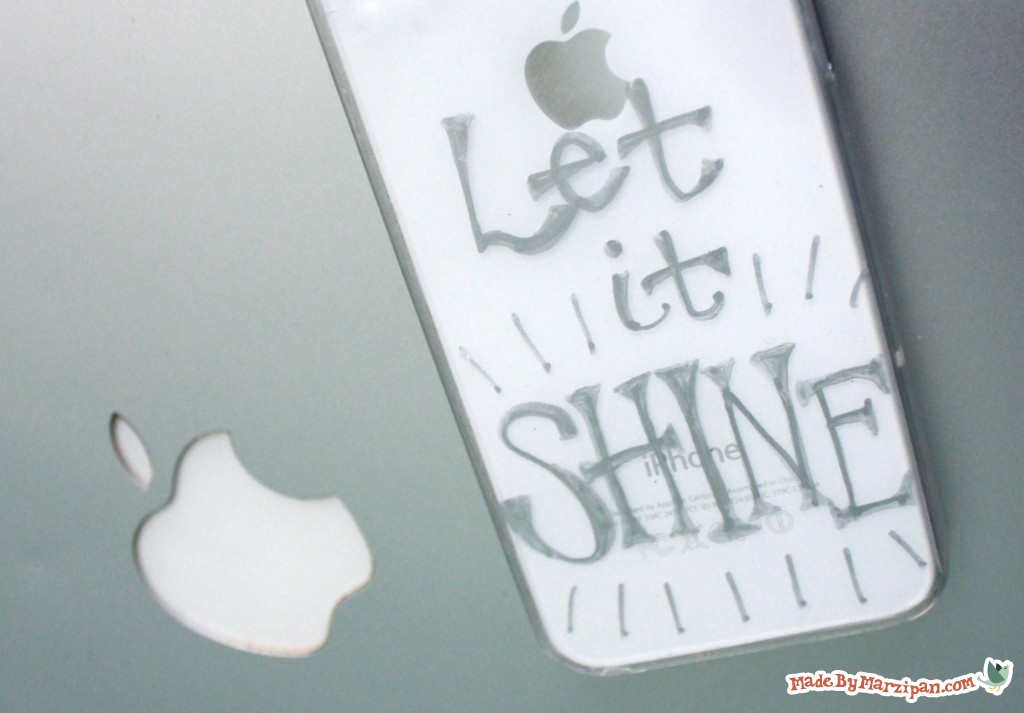
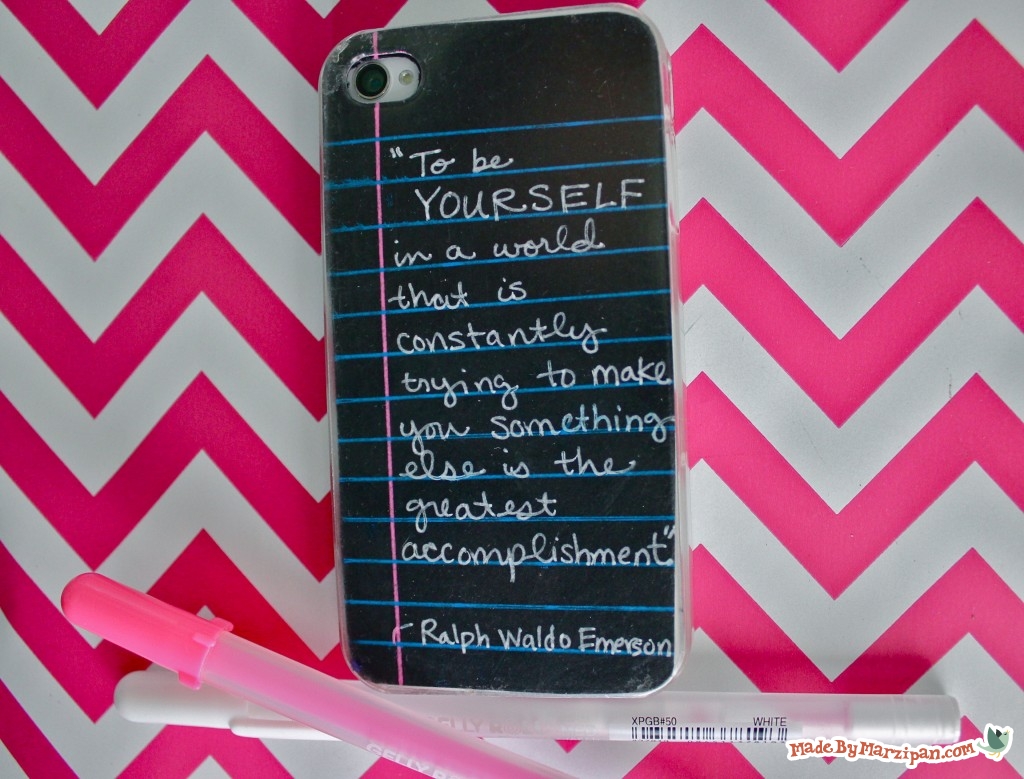
For this second insert, I’m making a notebook paper design on a piece of black cardstock, using Gelly Roll Moonlight® Pens. Use a ruler to get straight edges.
7
After drawing each line, lift the ruler for a second or two to let the ink set, to prevent smudging.
8
Then, I’m writing a favorite quote on the lines.
Shouldn’t your phone be as unique as you are? The possibilities are endless!
Made By Marzipan may have received product or payment for this post. Posts may contain affiliate links. Disclosed in accordance with the Federal Trade Commission's 16 CFR, Part 255.

 Finished?
Show it off!
