This 3D circle scrapbook features a fun folding technique that creates a 3-dimensional mini album. Each pop-up page creates a little “room” for you to decorate!
How to:
made with
plate to trace
large circle die cut (Optional)
1
Trace a large dinner plate onto four sheets of 12×12 cardstock. Or, use a large die cut to make four circle shapes. I didn’t have a big plain circle, so I decided to use a scalloped one instead.
2
Fold the four circles exactly in half. Then open it up and fold it in half the other way, dividing the circle into four quadrants.
3
Cut a slit along one of the folds, up to the center of the circle. Cut one slit on each circle.
4
Now you’re going to lift up the cut flap and fold it over to line up with the third crease (the last one). When you open your circle back up, it should look like this: slit, whole quarter, quarter with a fold down the middle, whole quarter, whole quarter, and you’re back to the slit.
5
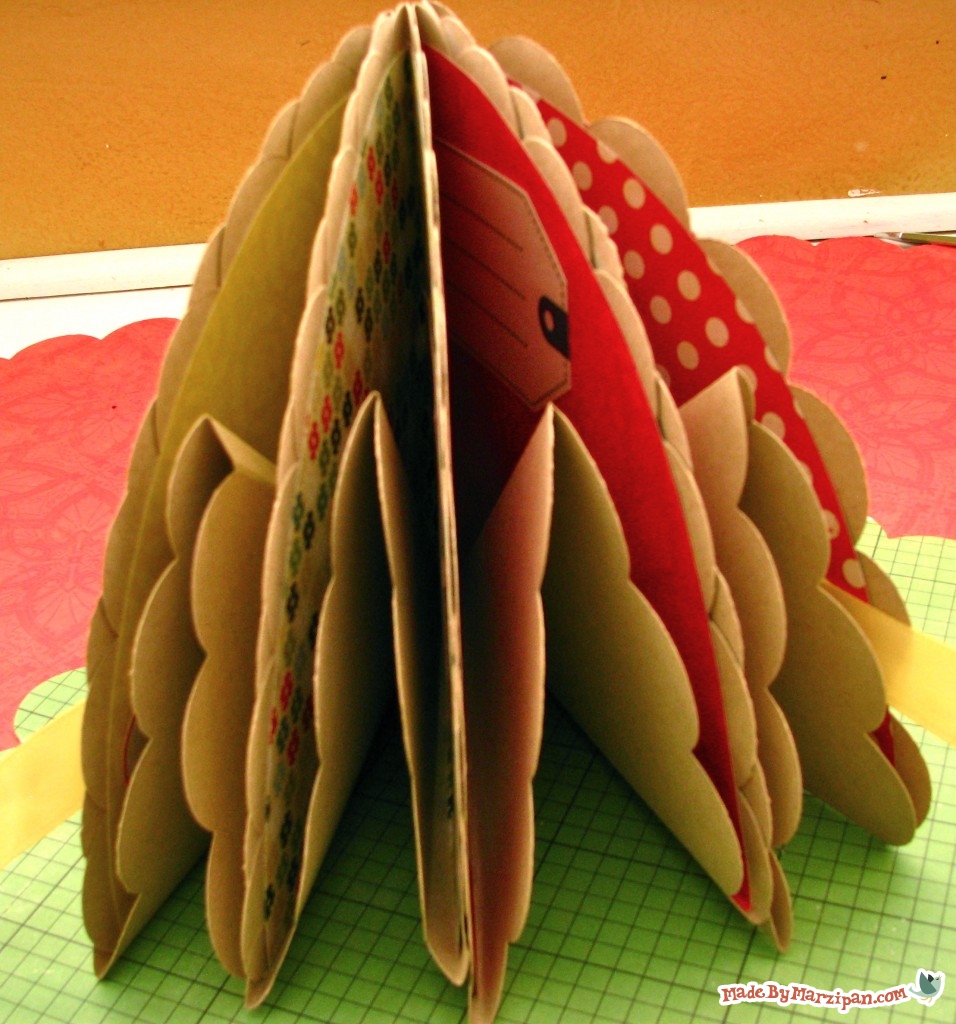
Now add double sided adhesive or glue to the back of the quarter by the slit. Layer the two quarters by the slit on top of each other to create a 3D triangle shape. The section with the fold down the middle will be the bottom. Bend the card upward along that fold so that when you close it, the folded bottom is enclosed inside the triangle. Repeat with the other circles.
6
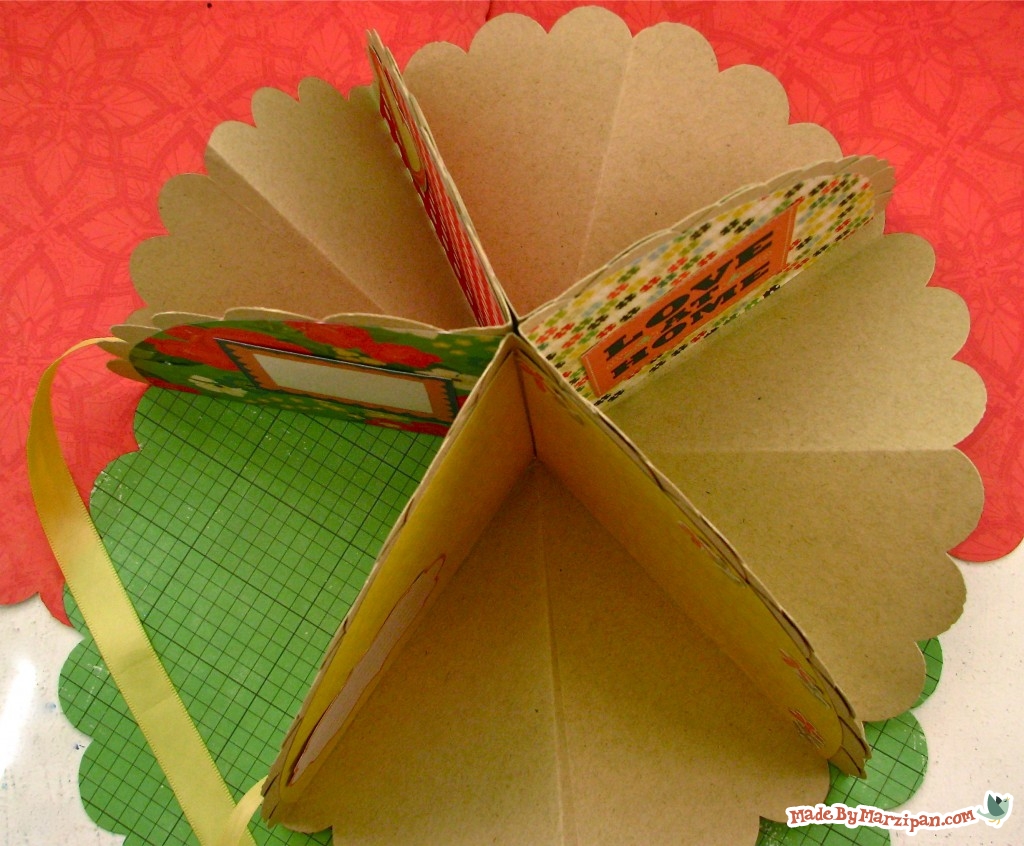
Now we’re going to attach the circles to each other by adding adhesive along one of the sides and pressing together. Again, be sure that the folded section is along the bottom before gluing. Line up the bottom edges of the papers carefully to ensure that your album will be able to stand up. Do not glue the last two sides together, these are your covers and you need to be able to open and shut your album.
7
Use the plate or die cut to make circles out of two sheets of double-sided patterned paper. Cut those circles into fourths. I’ve chosen to trim off the scallops so I can have a bit of a border. Glue these papers onto each of the album’s walls. If you’d like, you can rub ink along the edges of these papers before gluing for extra contrast.
8
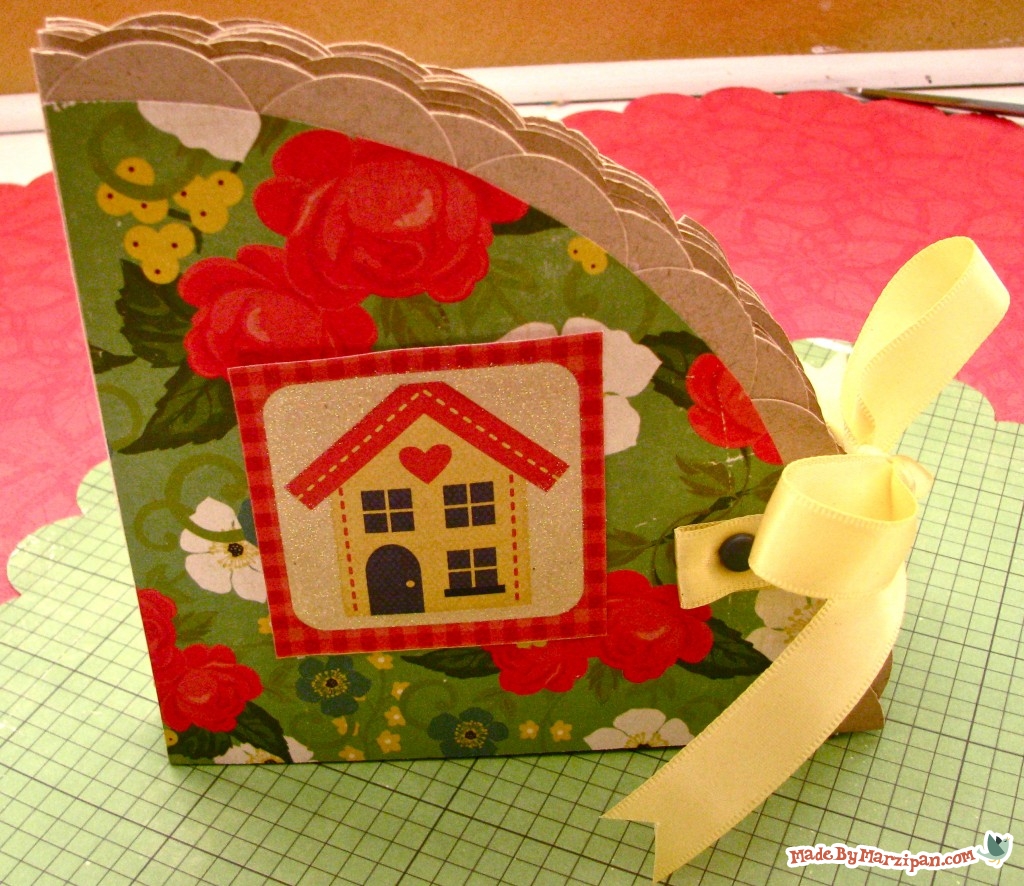
Cut two ribbon segments about 14 inches long. These will become your tie closures. Fold over the end of the ribbon about an inch, and poke a brad through the ribbon.
9
Punch a hole on the front and back pages of your album. Add the ribbon and brad to the outside of the front cover, and to the inside of the back cover. Now you can tie your album shut, or open it and tie it so it stays open.
10
I like to use cut-apart sheets to decorate mini-albums, because one sheet of paper goes a long ways. But you can use whatever you have on hand to decorate your scrapbook. Give it blank as a gift, or add photos and journaling to complete your project.
Made By Marzipan may have received product or payment for this post. Posts may contain affiliate links. Disclosed in accordance with the Federal Trade Commission's 16 CFR, Part 255.

 Finished?
Show it off!

Looks like a great project, but I am having trouble viewing the video. I look forward to seeing it.
I thought I should give it a shot / go !