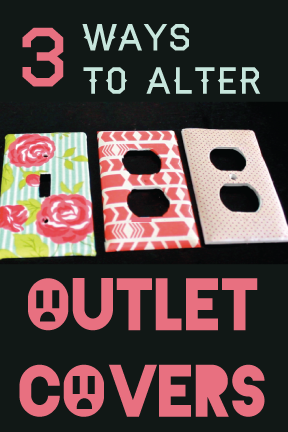
If you’re renting and can’t paint, it costs less than a buck to alter a new outlet cover and add color to your space. Here are three different methods for updating a light switch plate.
How to:
made with
outlet cover
pen
newspaper
cotton fabric
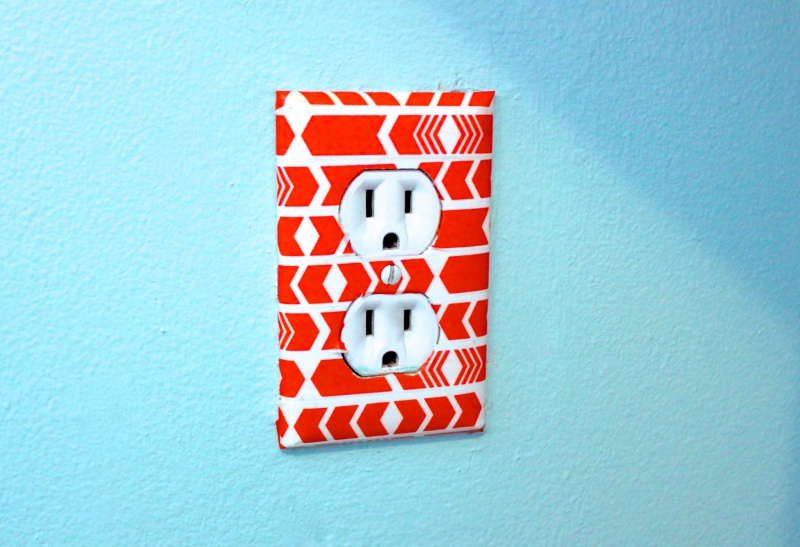
#1 Decorative Tape
Using decorative tape is the easiest method. You can use washi tape or designer duct tape.
1
Cover the front of the outlet with strips of tape and wrap the ends of the tape around to the back.
2
Use scissors or a razor blade to cut carefully around the openings. Poke a small hole for the screws.
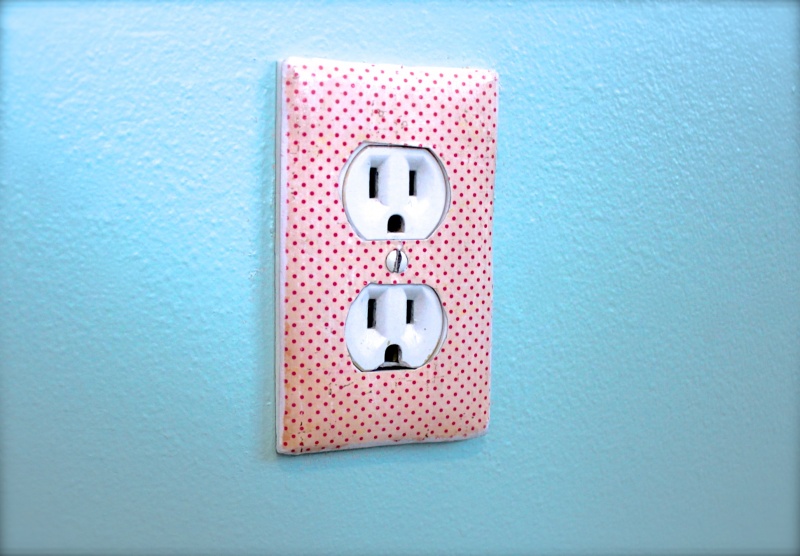
#2 Scrapbook Paper
You can also cover the outlet with paper. I’ve chosen scrapbook paper because it won’t fade or discolor, but you could also try a page from a magazine or an illustration from an old book.
1
Trace the cover on the BACK of a piece of patterned scrapbook paper, remembering to outline the holes.
2
Cut out the center holes.
3
Use a single hole punch to make the hole for the screws.
4
Protect your work area with wrapping paper or newspaper.
5
Use a paint brush to spread a light coat of Mod Podge on the front of the outlet cover.
6
Lay the paper on top of the outlet cover, carefully aligning the holes.
7
Starting in the center and working toward the edges, smooth the paper outward. Press firmly to eliminate air bubbles beneath the paper.
8
Allow the adhesive to dry for a few minutes, then use sandpaper or a file to sand down the edges of the paper. (This makes the paper better fit the slight curve of the cover and will prevent the edges of the paper from curling upward over time.)
9
Brush off the paper, then add a light topcoat of Mod Podge to seal the paper. Keep your brush strokes consistent and vertical. Allow to dry.
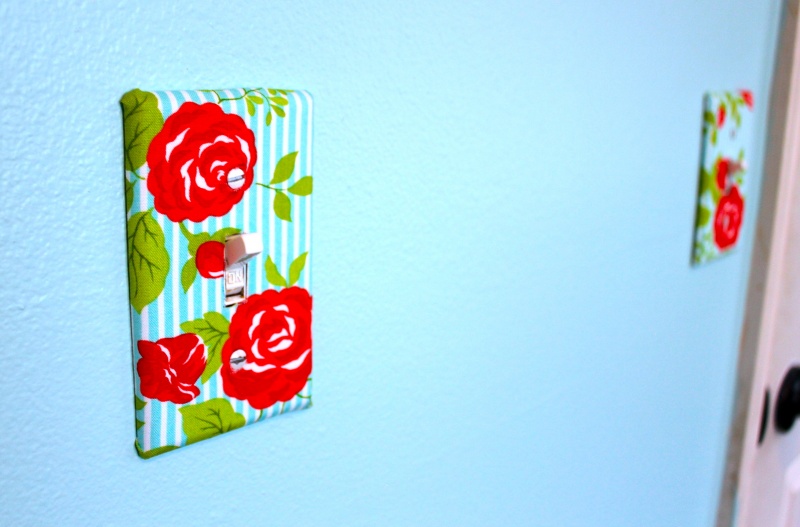
#3 Fabric
The last method is the most time consuming, but looks very elegant.
1
First iron a piece of cotton fabric.
2
Lay the cover on the fabric and trace around it, adding an extra ½ inch border on all sides. Remember to trace the holes as well.
3
Cut out the rectangle.
4
Use a single hole punch to make the screw holes.
5
Carefully snip out the center cutouts.
6
You’ll need to use Fray Check around the cutouts to prevent fraying over time. You only need to use a very small amount. Don’t even squeeze the bottle, just let it drip every so slightly on the edges of the holes. This seals the raw edges of the fabric.
7
You’ll also need a permanent fabric spray adhesive. I recommend Elmer’s Craft Bond. Protect your work area, because this gets very sticky.
8
Spray the outlet cover lightly with Craft Bond. Immediately place the fabric on top, carefully aligning the holes.
9
Rub the fabric firmly from the center outward to adhere. Then rub along each side of the cover.
10
Remove the cover from the protective paper while it is still tacky. Discard the paper and lay down a fresh piece.
11
Make a diagonal snip at each fabric corner. This reduces bulk and allows the fabric to fold in more neatly.
12
Flip over the outlet cover and lightly spray the back. Fold the edges inward to adhere.
13
Use a flathead screwdriver to install your new outlet cover. If you’re renting, save the old one and replace it when you move.
Tell me which method is your favorite in the comments below!
Made By Marzipan may have received product or payment for this post. Posts may contain affiliate links. Disclosed in accordance with the Federal Trade Commission's 16 CFR, Part 255.

- Cornelia
 Finished?
Show it off!
