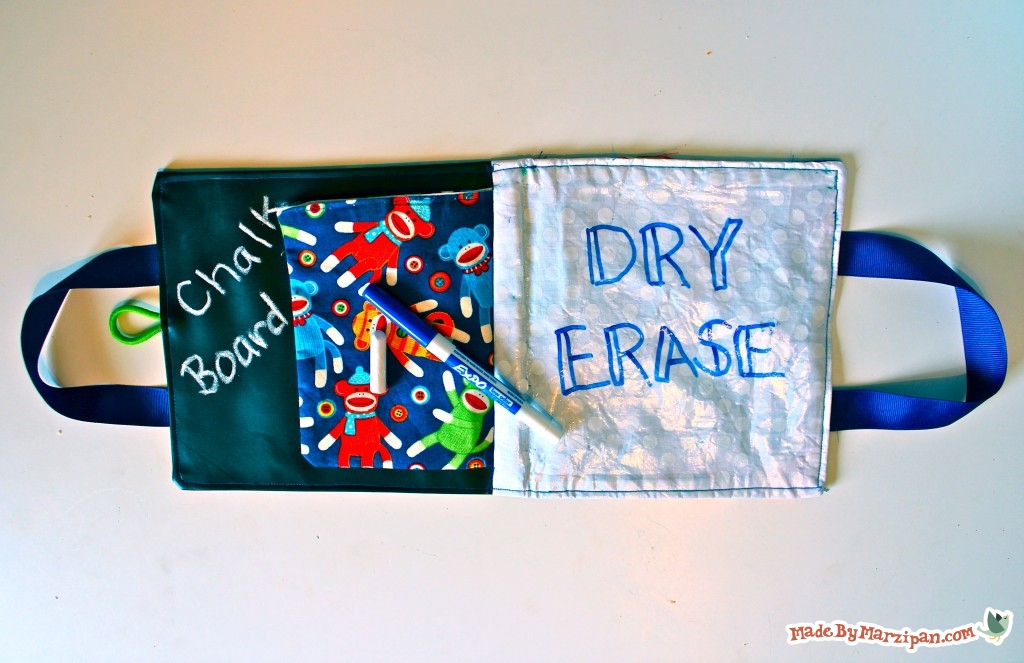
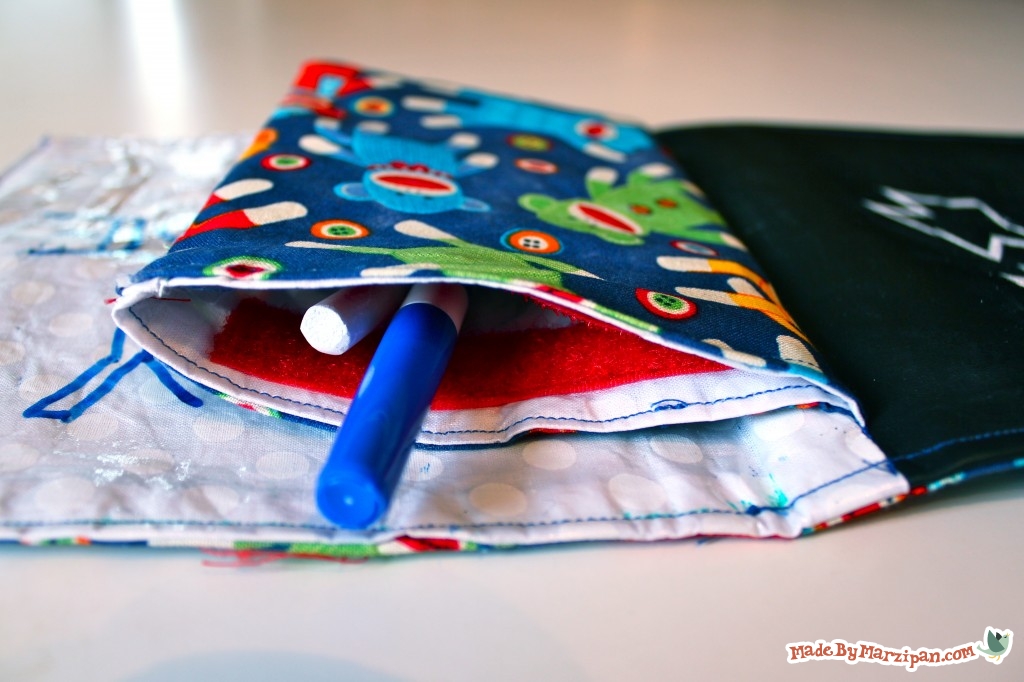
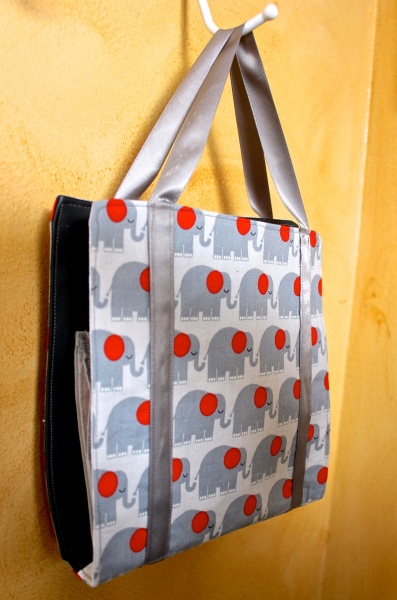
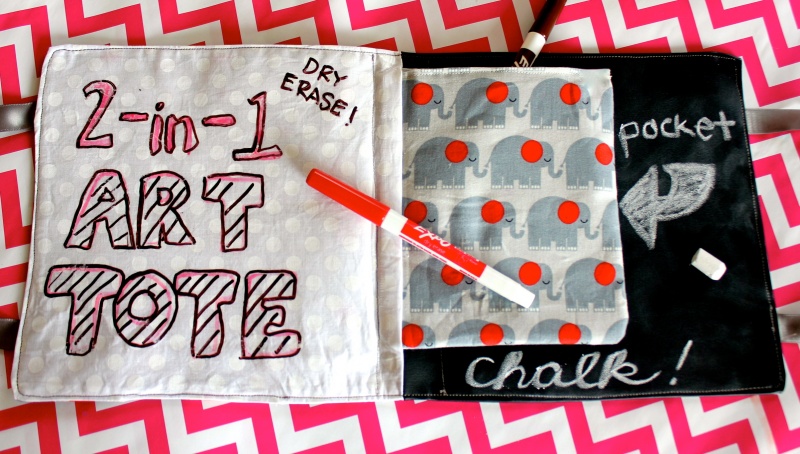
A 2-in-1 Art Tote makes playtime portable! Use chalk on one side and dry erase markers on the other. Store supplies in the center pouch.
Tips:
1
I bought the chalkboard fabric at JoAnn, you can find it by the utility fabrics.
2
I purchased the iron-on vinyl from WalMart, it’s kept by the bolts of interfacing.
How to:
made with
inner cotton fabric, 9 x 8.5 in
cotton outer fabric, 16.5 x 8.5 in
large button (Optional)
1
Begin by cutting a piece of outer fabric and a piece of iron-on interfacing to 16.5 x 8.5 in. Iron the interfacing to the back of the fabric.
2
Cut a piece of inner fabric (white), a piece of chalkboard fabric, and a piece of iron-on vinyl to 9 x 8.5 in.
3
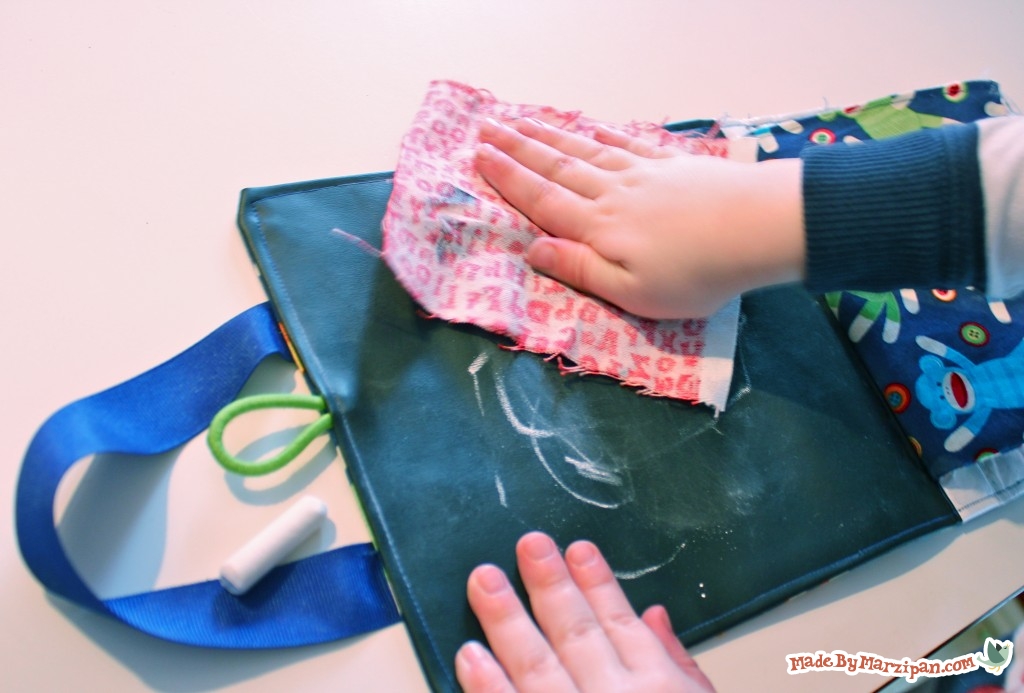
Prime the chalkboard fabric by coloring the entire surface with a piece of chalk. Wipe off the chalk and the fabric is ready to use.
4
Add the iron-on vinyl to the inner (white) fabric piece. Peel the backing off the vinyl and adhere to the front of the fabric. Lay the paper backing on top of the vinyl and iron. Be very careful not to touch the vinyl with the iron.
5
Repeat the steps with the two inner pocket pieces (white). This will make the interior of the pocket easy to clean if necessary. The pocket pieces should each measure 7×6 in.
Creating the Pocket
6
Next we’ll create the pocket. You should have two inner pocket pieces with vinyl. You will also need to cut two 7×6 inch pieces for the outside of the pocket, using the outer fabric.
7
Pin a piece of Velcro to the middle of each vinyl pocket piece, about 1 inch from the top short edge. Sew the Velcro in place.
8
Now layer the pocket pieces together. First put an inner vinyl piece face down. Then comes an outer fabric face up. Next is the remaining outer fabric face down. Finally, add the other inner vinyl piece face up.
9
Pin together and sew with a 1/4 inch seam, leaving the top edge open. Begin sewing about a 1/2 inch from the top edge so it’s easy to turn under later.
10
Trim the corners, then turn right side out. Poke out the corners with a blunt tool.
11
Turn the raw top edges inward and pin. Sew around the top edge with a 1/8 inch seam. You don’t want to sew the pocket shut, so you’ll need to rotate the fabric as you sew.
12
Sandwich the pocket piece between the chalkboard fabric and the vinyl-covered fabric. Sew together along the left side with a 1/2 in. seam. (It’s a good idea to trim this inner seam to about a 1/4 inch so the tote will lay flatter.)
Adding Ribbon Handles
13
Next we’ll add the ribbon handles. You’ll need about 22 inches of ribbon. Fold under the raw edge of the ribbon and begin pinning in the center of the outer fabric piece. It should be two or three inches away from the side, depending on the width of your ribbon.
14
Make a loop that extends past the edge of the tote to create the handle. Add a pin about an inch from the edge of the fabric to remind yourself to stop sewing here… otherwise your handles will get caught within your seams later.
15
Sew the ribbon in place, first down the outer edge of the ribbon, then along the inner edge. Remember to stop sewing an inch away from the edge of the fabric.
Button Closure (Optional)
16
Now it’s time for the button closure. (This is optional, since the pocket has Velcro.) To add the button closure, pin a hair elastic to the center of one short end of the outer piece. The elastic should be pointing inward. If the elastic has a metal clasp, extend it past the edge of the fabric and you can trim it later.
17
Sew in place with a zig-zag stitch and a 1/4 inch seam. Backstitch for durability. Trim off the excess elastic.
18
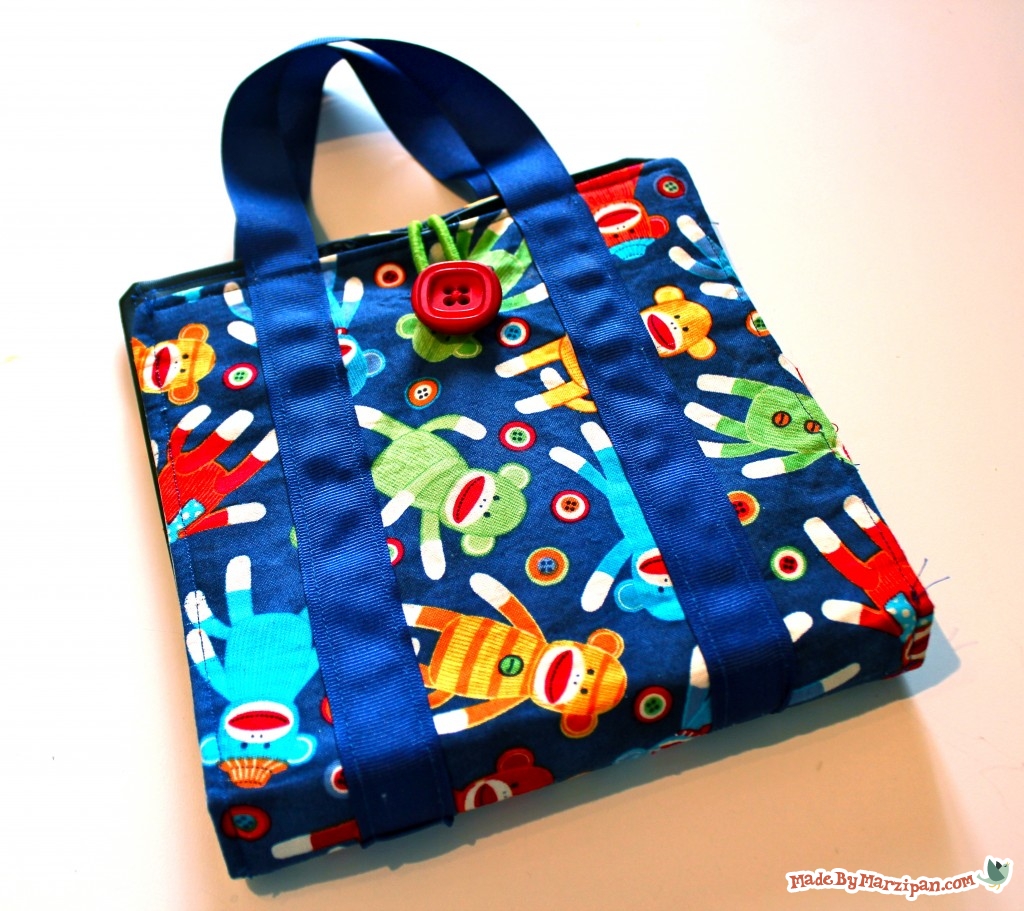
Sew a button on the opposite short end of the tote. Make sure you place it far enough down that it won’t interfere with your seams. A button without a shank provides a smoother drawing surface.
Assembling the Tote
19
It’s finally time to assemble our tote! Pin the handles down, towards the center of the tote, so they won’t get caught in the seams. Layer the two pieces right sides together and pin.
20
Sew around the edges with a 1/2 inch seam, remembering to leave a 4-inch hole along the top edge of the vinyl page for turning. Trim the corners and turn right side out.
21
Turn the edges of the hole inward and pin. Topstitch all the way around the tote with a 1/8 inch seam.
22
Topstitching between the pages will help the book to lay flatter.
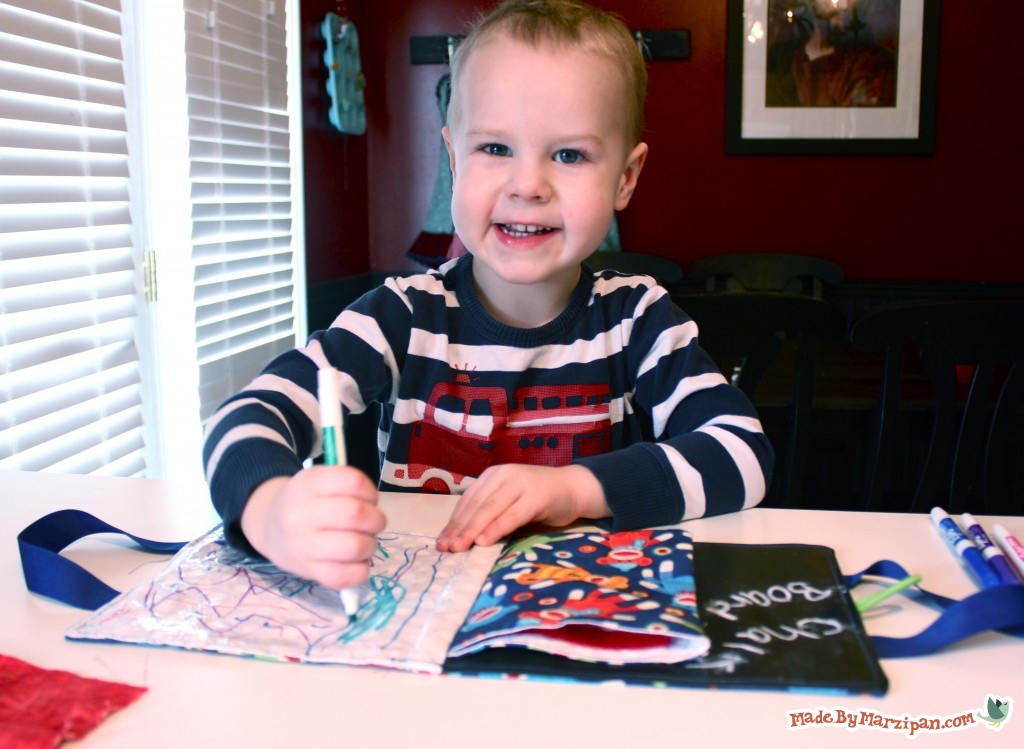
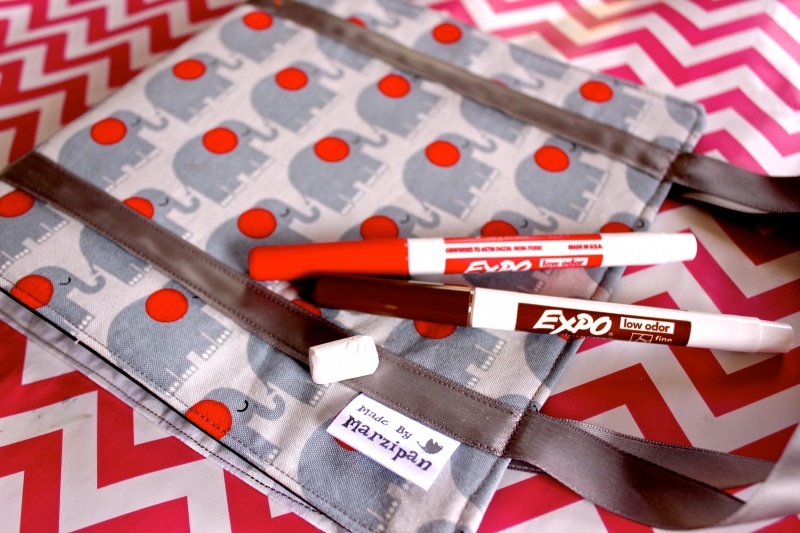
Add dry erase markers, chalk, and a piece of flannel for an eraser to the center pocket. Now your little artist can create anywhere! Upload your project pictures right here in the comments section.
Click here to find more toy sewing tutorials!
Made By Marzipan may have received product or payment for this post. Posts may contain affiliate links. Disclosed in accordance with the Federal Trade Commission's 16 CFR, Part 255.

 Finished?
Show it off!
This looks amazing!! My kids would love this. Thank you so much for the tutorial!!
WOW! Looks and sounds exciting! Thanks!
I loved this alot
Hi! I am making a few of these for a friend’s daughter and have a question. I do not see in the list of supplies the measurements for the pieces of fabric needed for the inner pocket. Am I missing something? Thanks!
Hi! The measurements in the supply list are what you will need total. In steps 2 and 6 we cut the pocket pieces to 7 x 6 inches from the larger pieces of fabric. The interior of the pocket is the white laminated with vinyl, and the outside of the pocket is made from the outer fabric. Hope that helps!
This is a great idea, especially the vinyl for easy cleaning. Dee
My young cousin would love this
You are so clever, love your tutorials, can’t wait for the next one:-)
Oh my goodness! This is adorable! My daughter would love this!
the best tut
it is cute
Saved as a favorite, I love your website!