How to:
made with
picture frame
foam brushes
cotton fabric
1
Begin by removing the backing, mat, and glass. The edges can be sharp, so be careful, and remember to dispose of the glass properly. Be sure that the surface is clean and free of dust.
2
Add a layer of acrylic paint using a foam brush. This color will only show through a little bit through the top coat, so you can use a bright color that will really pop. Don’t forget to paint the sides!
3
While that’s drying, we’re going to work on the fabric backing. I plan on using clothespins to clip things to my memo board. If you would like to also serve as a board you can use pushpins on, you can add a layer of cork, or a fluffy sheet of batting.
4
If your frame has the cardboard still intact, you can just cover that. Otherwise, you’ll need to cut a piece of cardboard to fit.
5
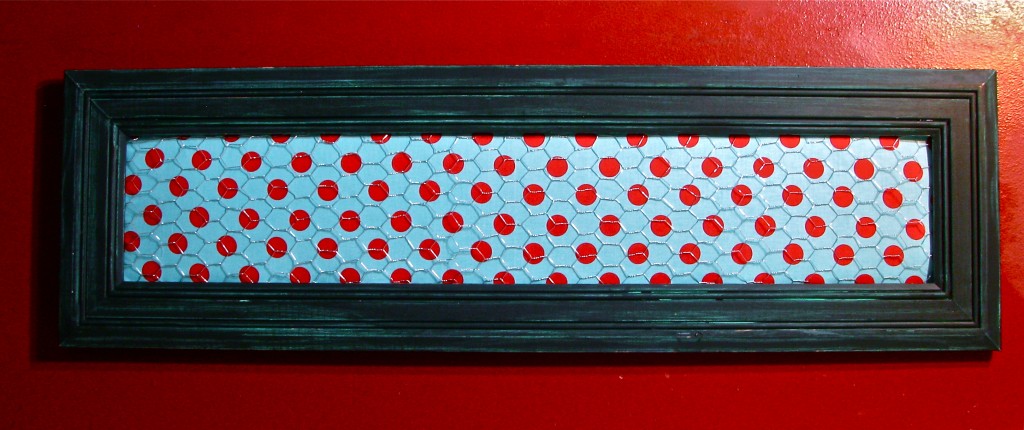
Your fabric needs to be big enough so that you can fold in the edges on all sides. Make sure your fabric is ironed, and then lay it face down on a flat surface. Center the cardboard on top of it. Secure the fabric with hot glue. Fold in the corners so they will lay flat.
6
Once your frame is dry, we can add the second coat of paint in a contrasting color. Then let the frame dry completely.
7
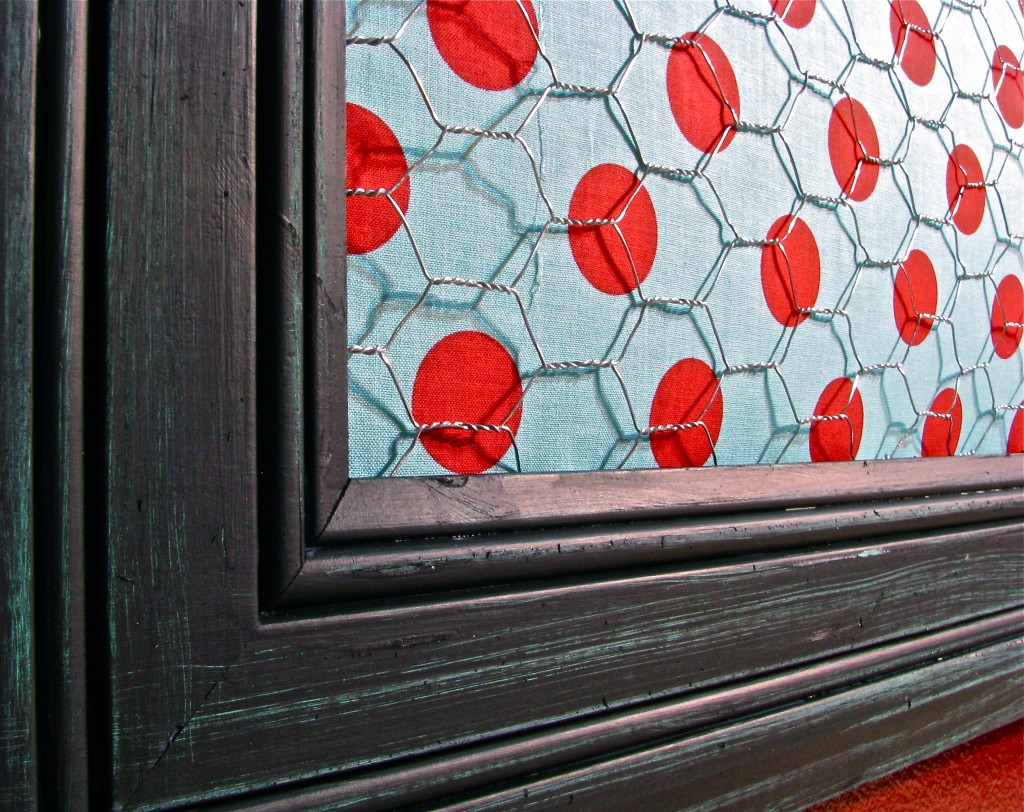
Now we can use a medium weight sandpaper to distress the frame. This removes some of the top coat of paint, revealing the contrasting color beneath. It makes your frame look old and worn and gives it a lot of charm.
8
Now we’ll move on to the chicken wire. You can buy it at most home improvement stores. This large roll cost me $9.
9
Don’t worry about trimming the chicken wire right now, it will be easier once it’s partially tacked in place. Lay the frame face down and unroll the wire on top of it.
10
Use a staple gun to staple chicken wire to one short side and one long side of the frame.
11
Now you can trim off some of the excess wire. Don’t cut off too much, because you won’t be stapling the wire taut, it needs to have a little give so you can fit the fabric backing behind it.
12
We’re going to insert the cardboard before we staple the remaining sides. Push the cardboard in firmly, and hold it in place with the frame’s metal tabs.
13
Once the backing is secured, staple the chickenwire to the remaining sides. I don’t want the chickenwire to scratch the paint on my wall, so I’m covering the sharp edges with duct tape.
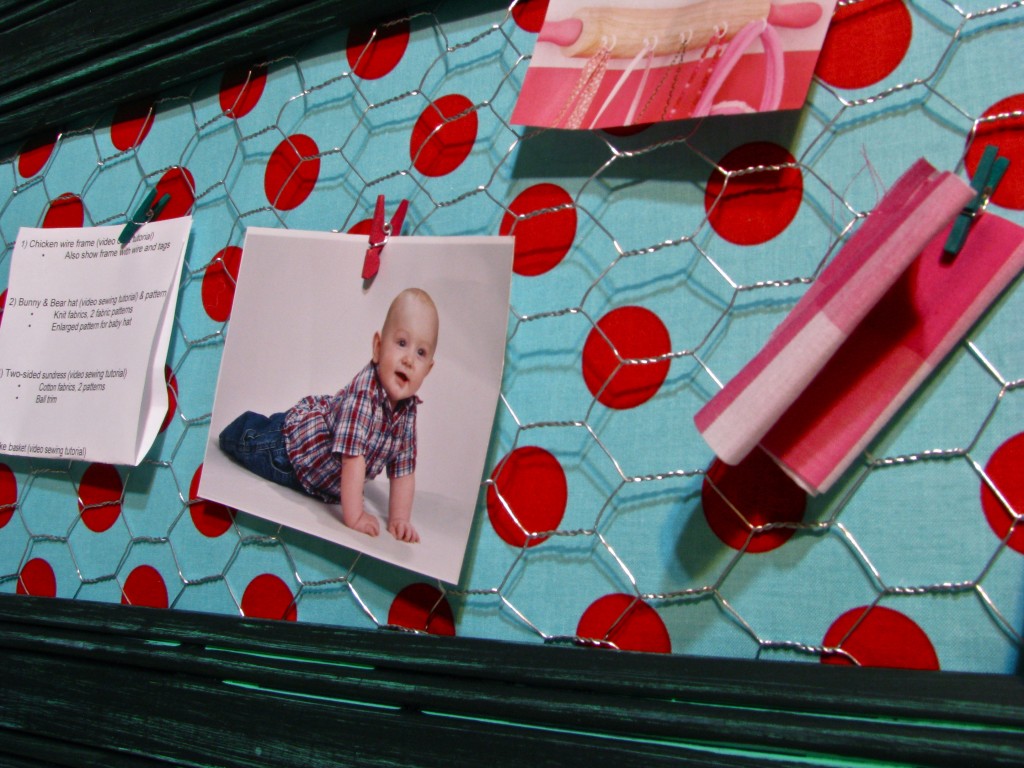
14
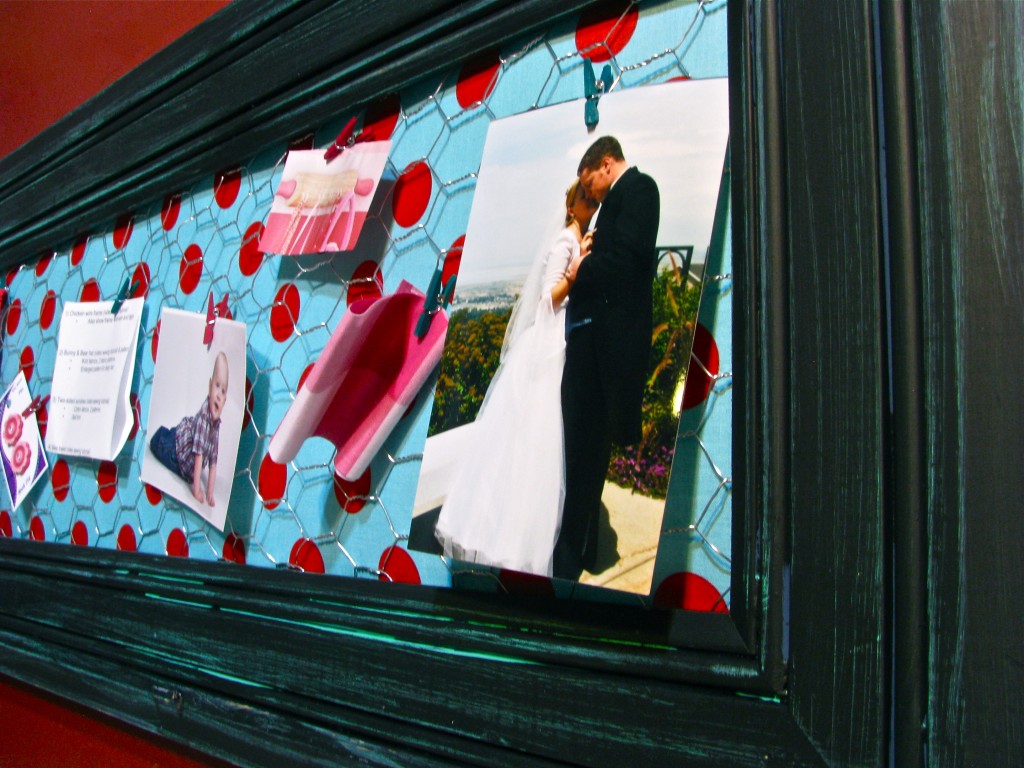
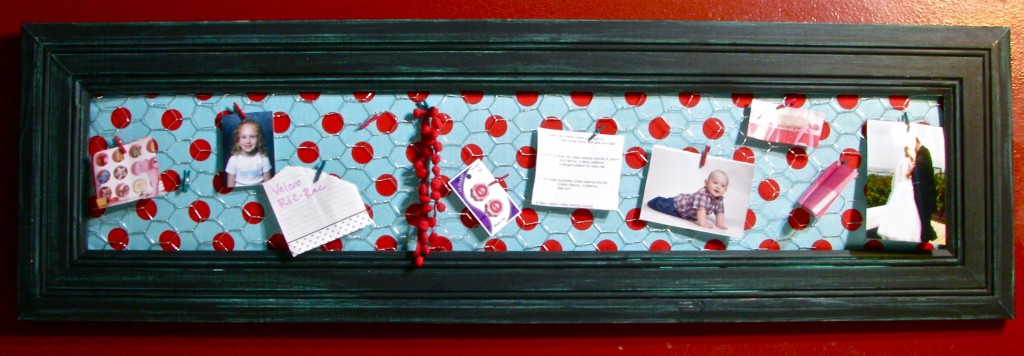
I bought these pre-painted mini clothes-pins at a craft store. Clip them to the chickenwire to hold photos, notes, or shopping lists.
Check out the tutorial on Embroidery Hoop Pin Boards for more bulletin board inspiration!
Made By Marzipan may have received product or payment for this post. Posts may contain affiliate links. Disclosed in accordance with the Federal Trade Commission's 16 CFR, Part 255.

 Finished?
You have the best tutorials thank you
Excellent instructions for a really cute and useful project! Thanks for sharing this.