
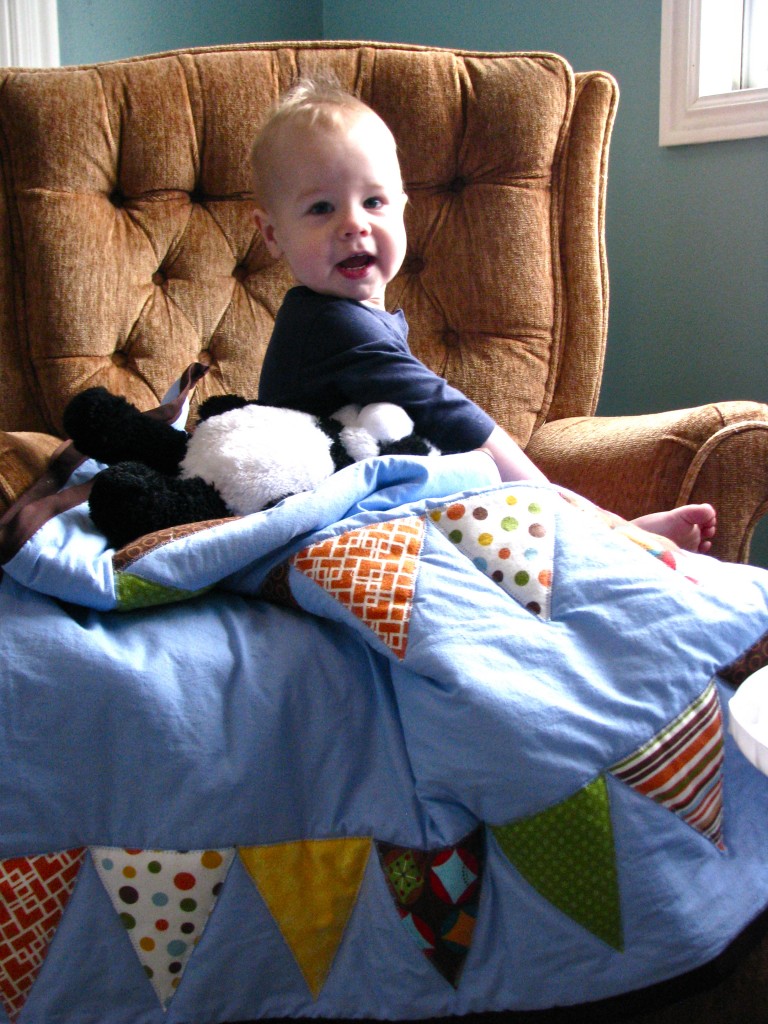
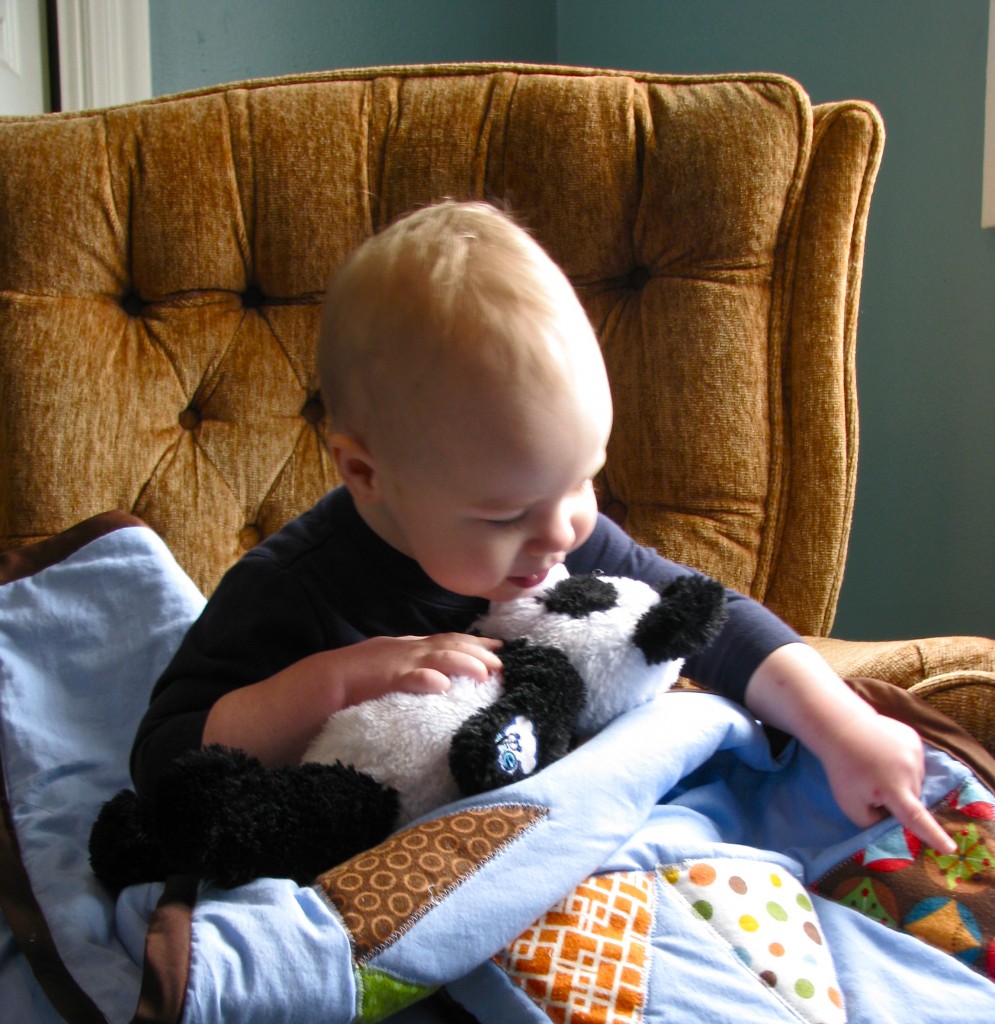
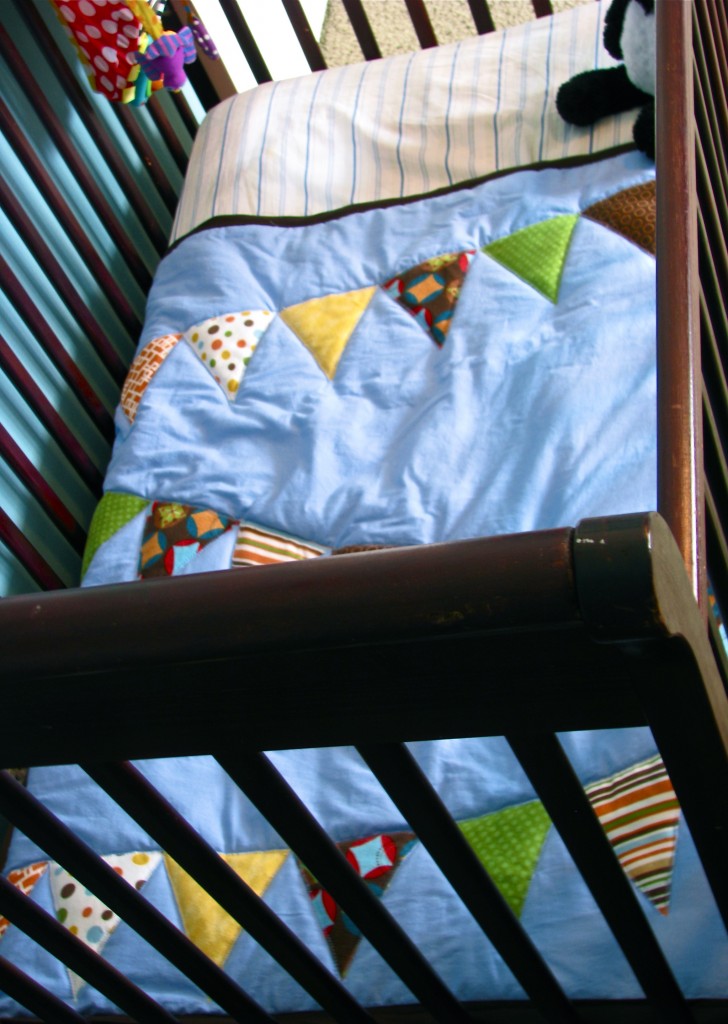
This sweet and simple bunting baby quilt is perfect for beginners.
How to:
made with
▾ | Bye Baby Bunting Triangle |
(2) pieces cotton or flannel fabric, 32 x 40 in.
fabric scraps for triangles
double-sided fusible webbing (Wonder Under)
1
It’s important that you wash and iron all your fabrics first. Cotton and flannel can shrink in the wash, so you might regret it if you don’t.
2
You can use a ruler to measure out your triangles, or you can print my triangle template to use as a guide. Because I’m working with small scraps, I can get the most out of my fabric by cutting my triangles individually.
3
Once your triangles are cut, place them on the rough side of a sheet of double-sided fusible webbing. Iron them well and allow to cool. Peel off the paper backing. The underside of the fabric should feel waxy. If it’s fuzzy, you need to iron longer before removing the paper. Separate the triangles.
4
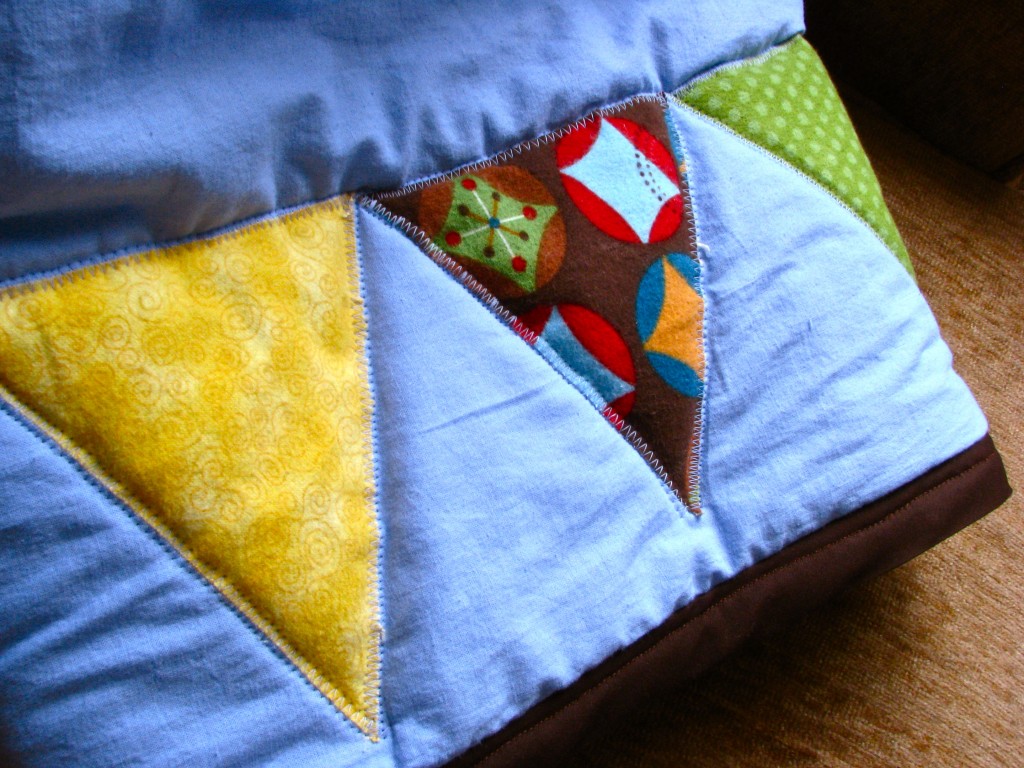
Lay out three rows of triangles in a pleasing pattern. Lightly press the iron on each triangle to tack in place. Then, take it to your ironing board, and iron firmly in place, making sure to get each point.
5
Now we’ll layer our fabrics. We’re going to sew directly on top of our quilt , so there will be no need to tie it. Put the backing on bottom, then batting, then the bunting piece.
6
Pin around the perimeter of the quilt, and add a few pins in the middle. This will keep the layers from sliding while sewing.
7
Start with the middle row, and use a zig zag stitch to sew along the top of your triangles, connecting them in one long row. Then, sew around the edges of each triangle, turning your fabric to follow the shapes.
8
You’ll need two packages of bias tape. It’s possible to make your own, but we’re keeping things simple.
9
To use the tape, unfold one half, and pin the unfolded edge along the top of your fabric as shown. For the long sides, you can trim the end of the tape to fit, and sew in place. For the short sides, you want to leave 3 inches of excess tape at each end so we can make corners with it.
10
Make sure your thread matches your tape. Use a straight stitch and sew in place by stitching in the ditch of the first fold line. Remove the pins. Now you’ll fold the bias tape up and over the edge of your quilt. Sew in place close to the inner edge of the bias tape.
11
You should have some excess tape at the ends. Fold downward and line up the edge of the excess tape with the tape that’s sewn down. Adjust the the seam at the corner so that it’s at a nice angle. Sew along the inner edge, lining up your seam with the seam you sewed previously. Fold the raw edge under and sew.
Click here to find more free quilting tutorials.
Made By Marzipan may have received product or payment for this post. Posts may contain affiliate links. Disclosed in accordance with the Federal Trade Commission's 16 CFR, Part 255.

 Finished?
Show it off!
I love it! So super cute!
I love the design and the fabrics you picked! Adorable!
Hi! I actually made a Dr. Suess quilt last week for my niece. I love your idea. :)
Nicki, I LOVE your quilt! It’s perfection! Thanks so much for posting your photo :)
Thank you so much for sharing these lovely projects and how-to !!
Hi just want to say I have just spent an hour watching you brilliant videos. Thank you so much for taking time to share your skills god bless
Tracy
Can I have the triangles dimension pls?
No triangle template.